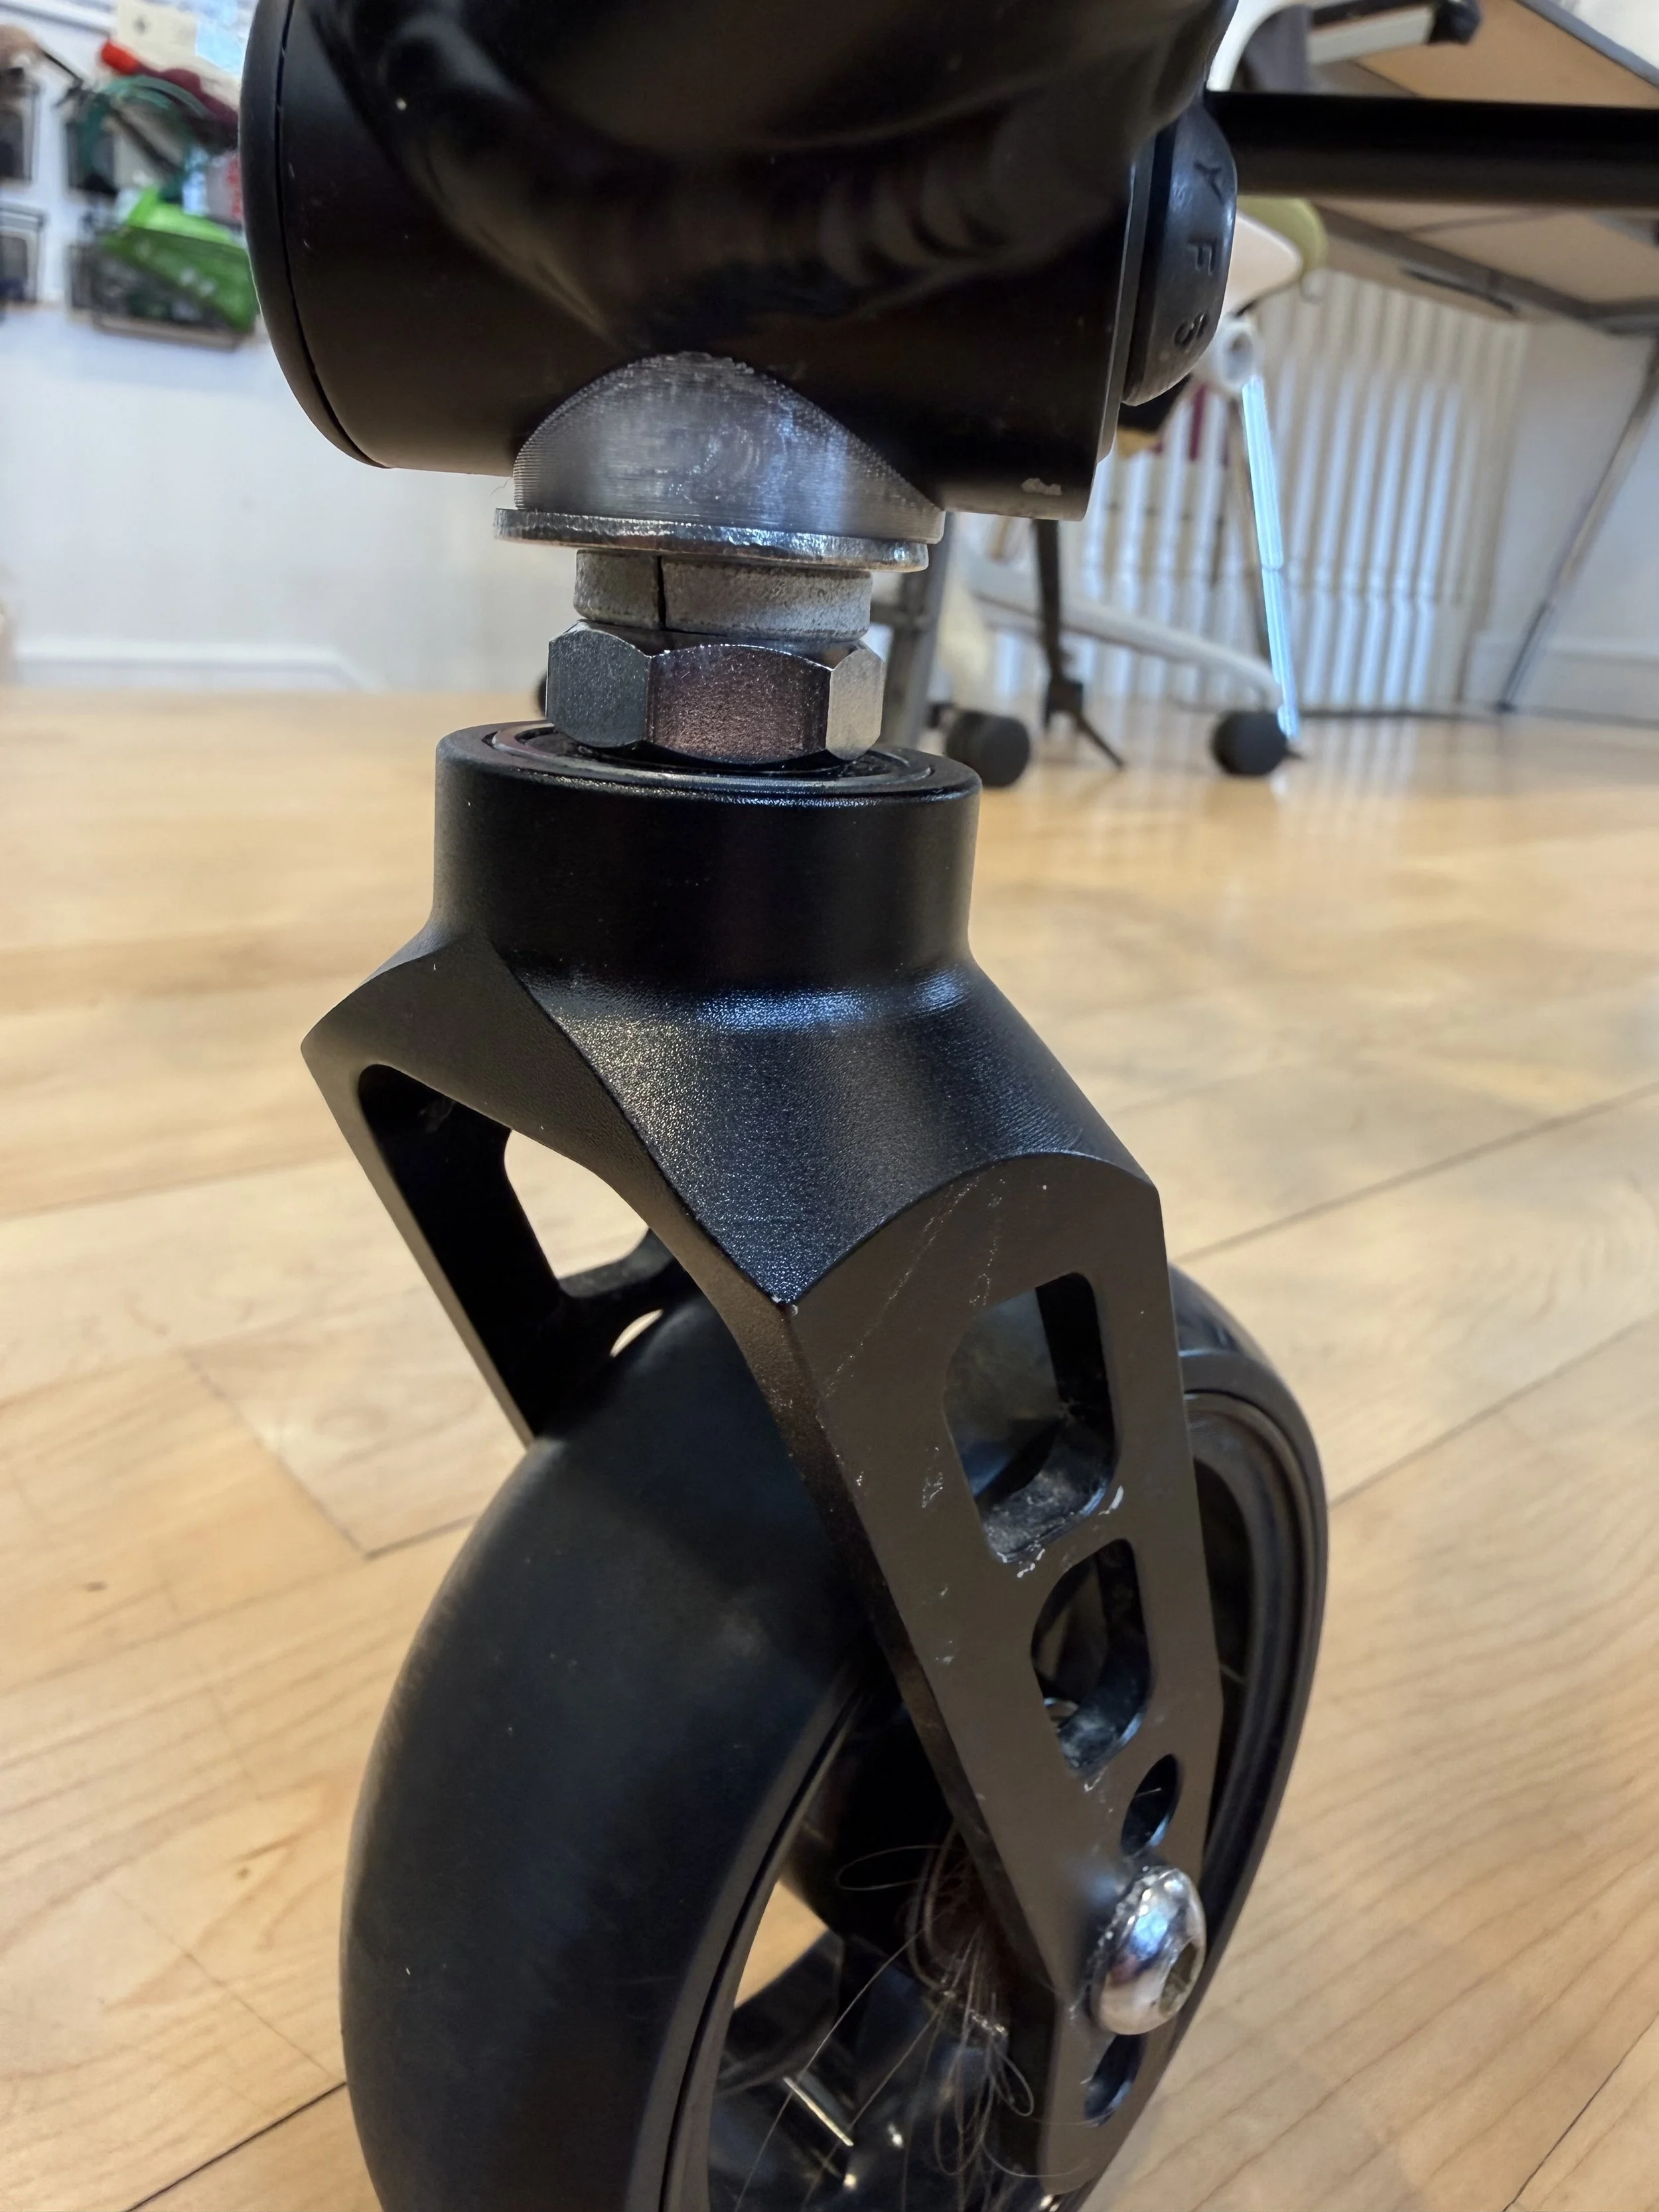
Caster Fork Spacer (NAW)
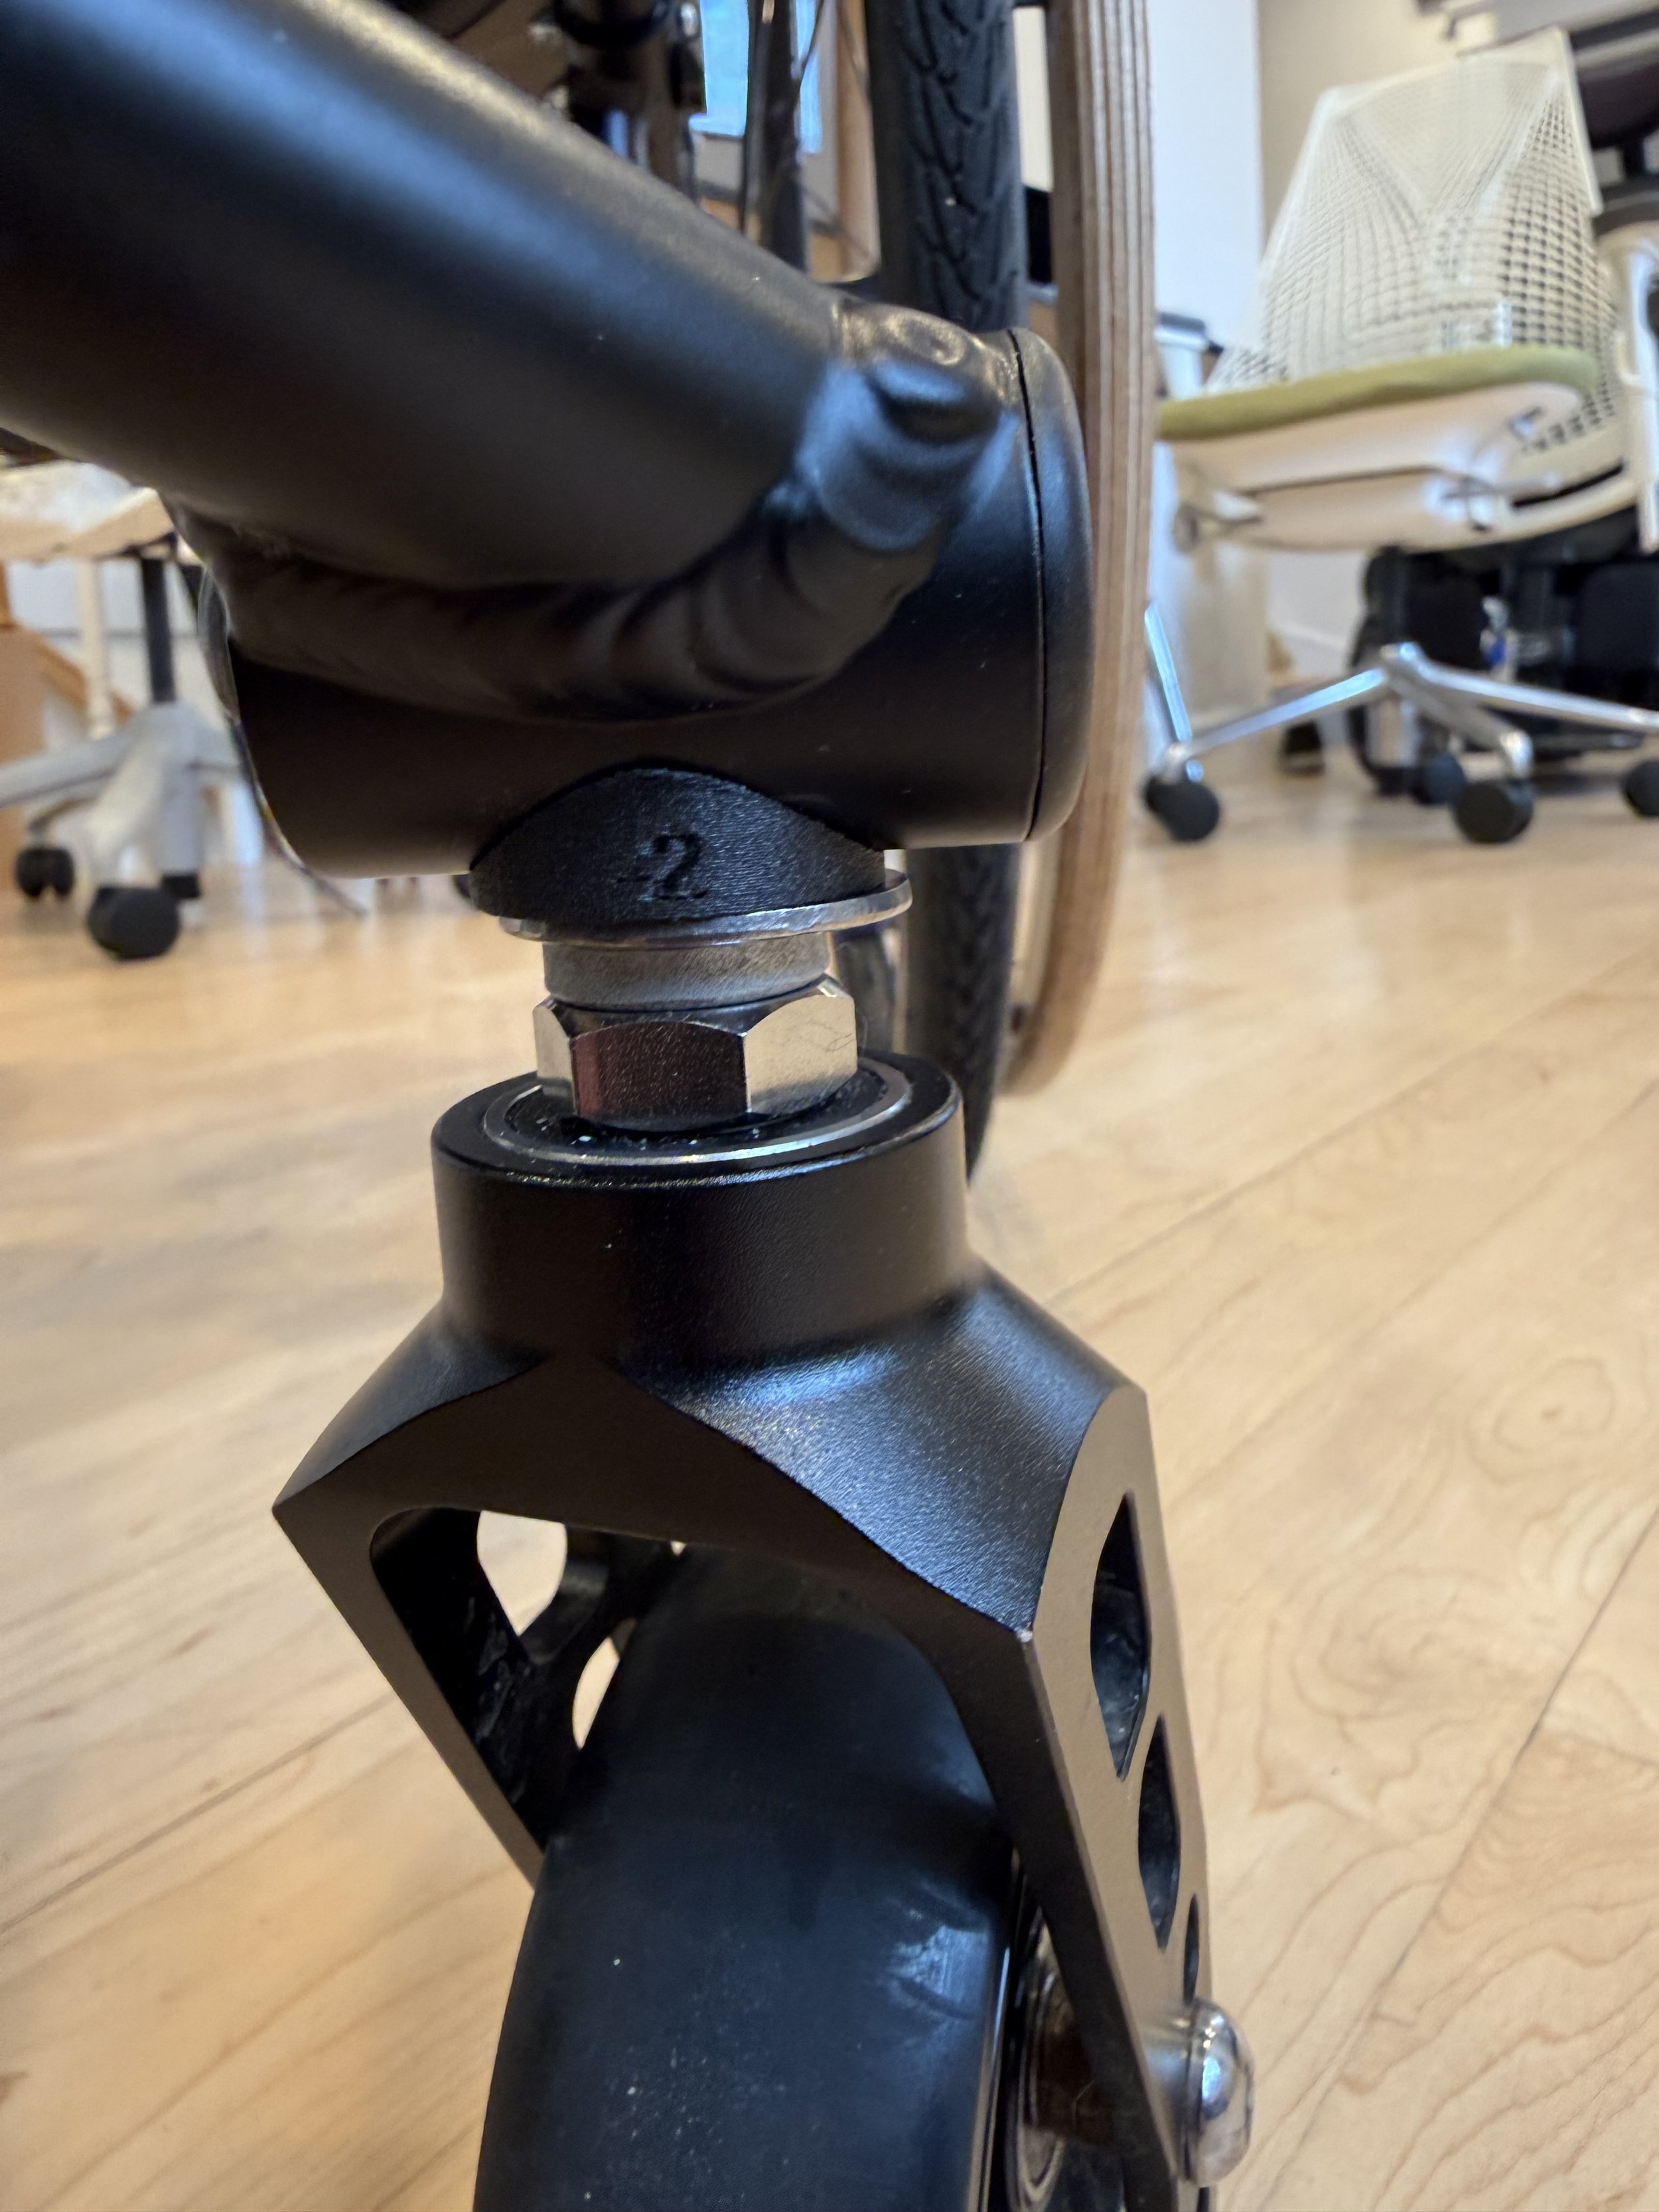
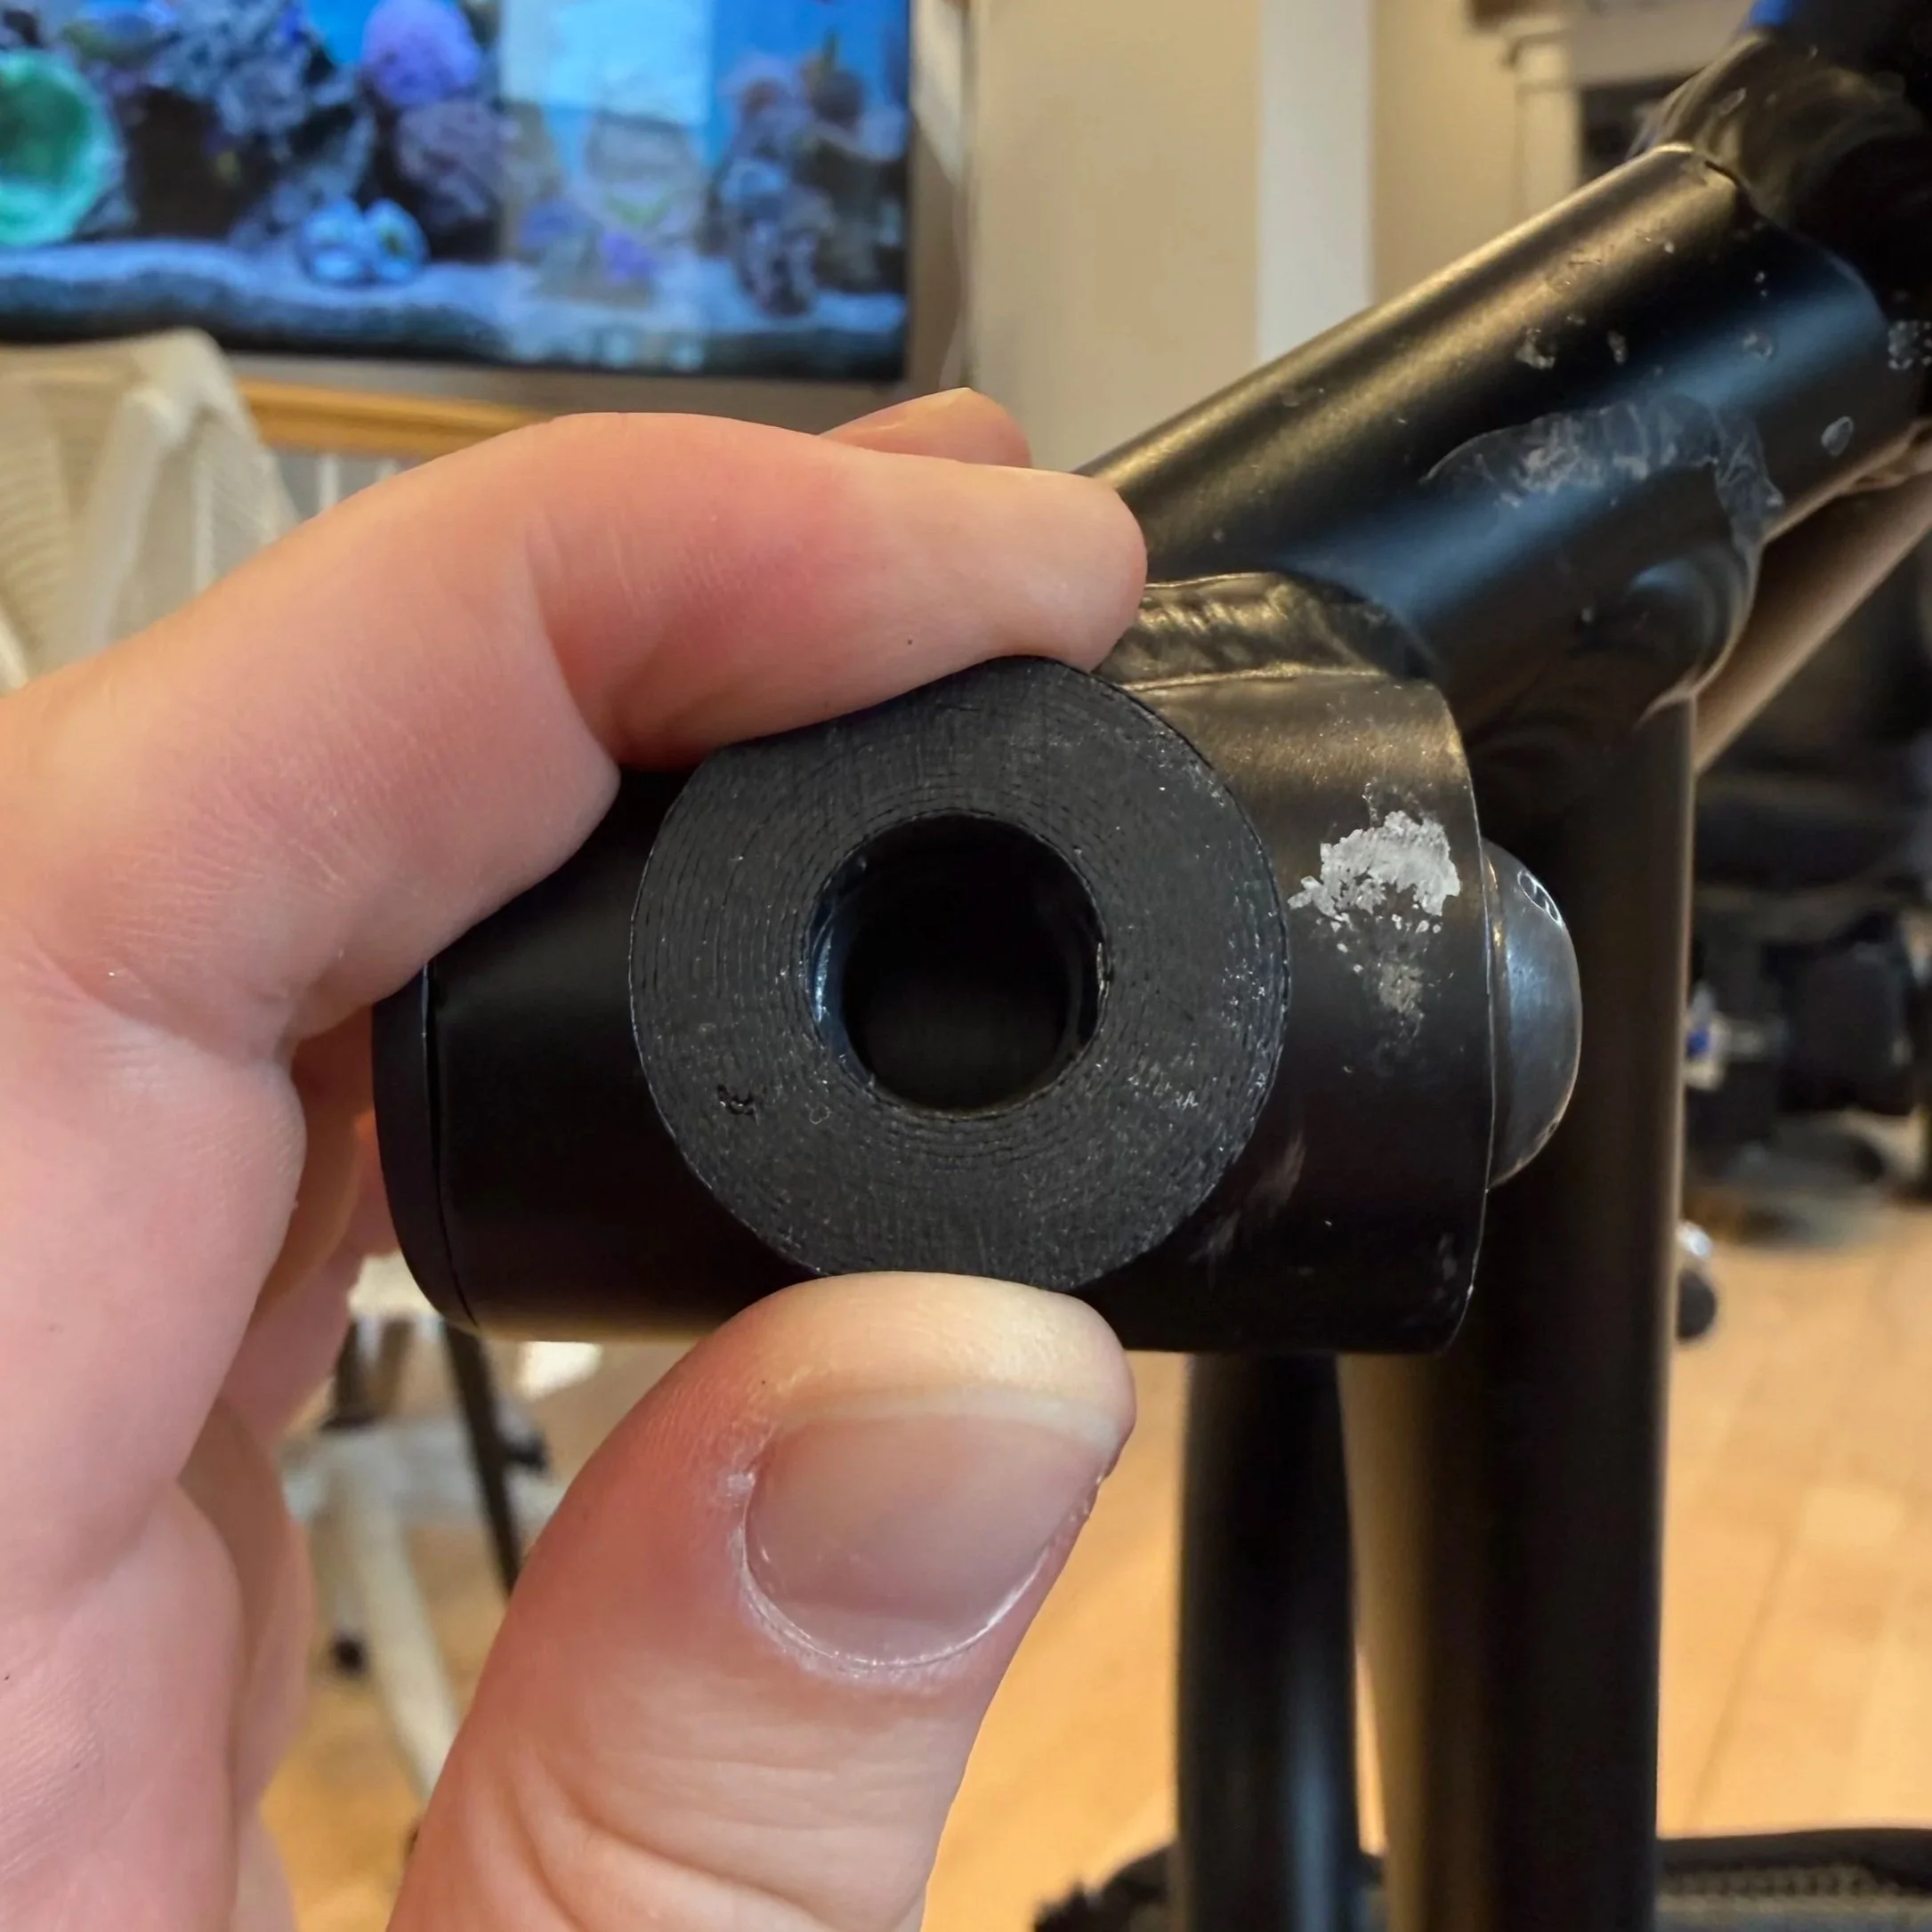
Picture of the 3D printed spacer installed on a Not A Wheelchair Paradox caster fork stem.
IMPORTANT!!! This is not endorsed by Not A Wheelchair and is not designed or tested to be a medical device. Use at your own risk.
Materials
3D Printer
Filament (PAHT-CF preferred, but PETG may work as well)
3/4 inch wrench (or adjustable wrench in this range)
6 mm hex key (if using the newer caster assembly)
Phone with angle measurement app (if you have the old caster assemblies)
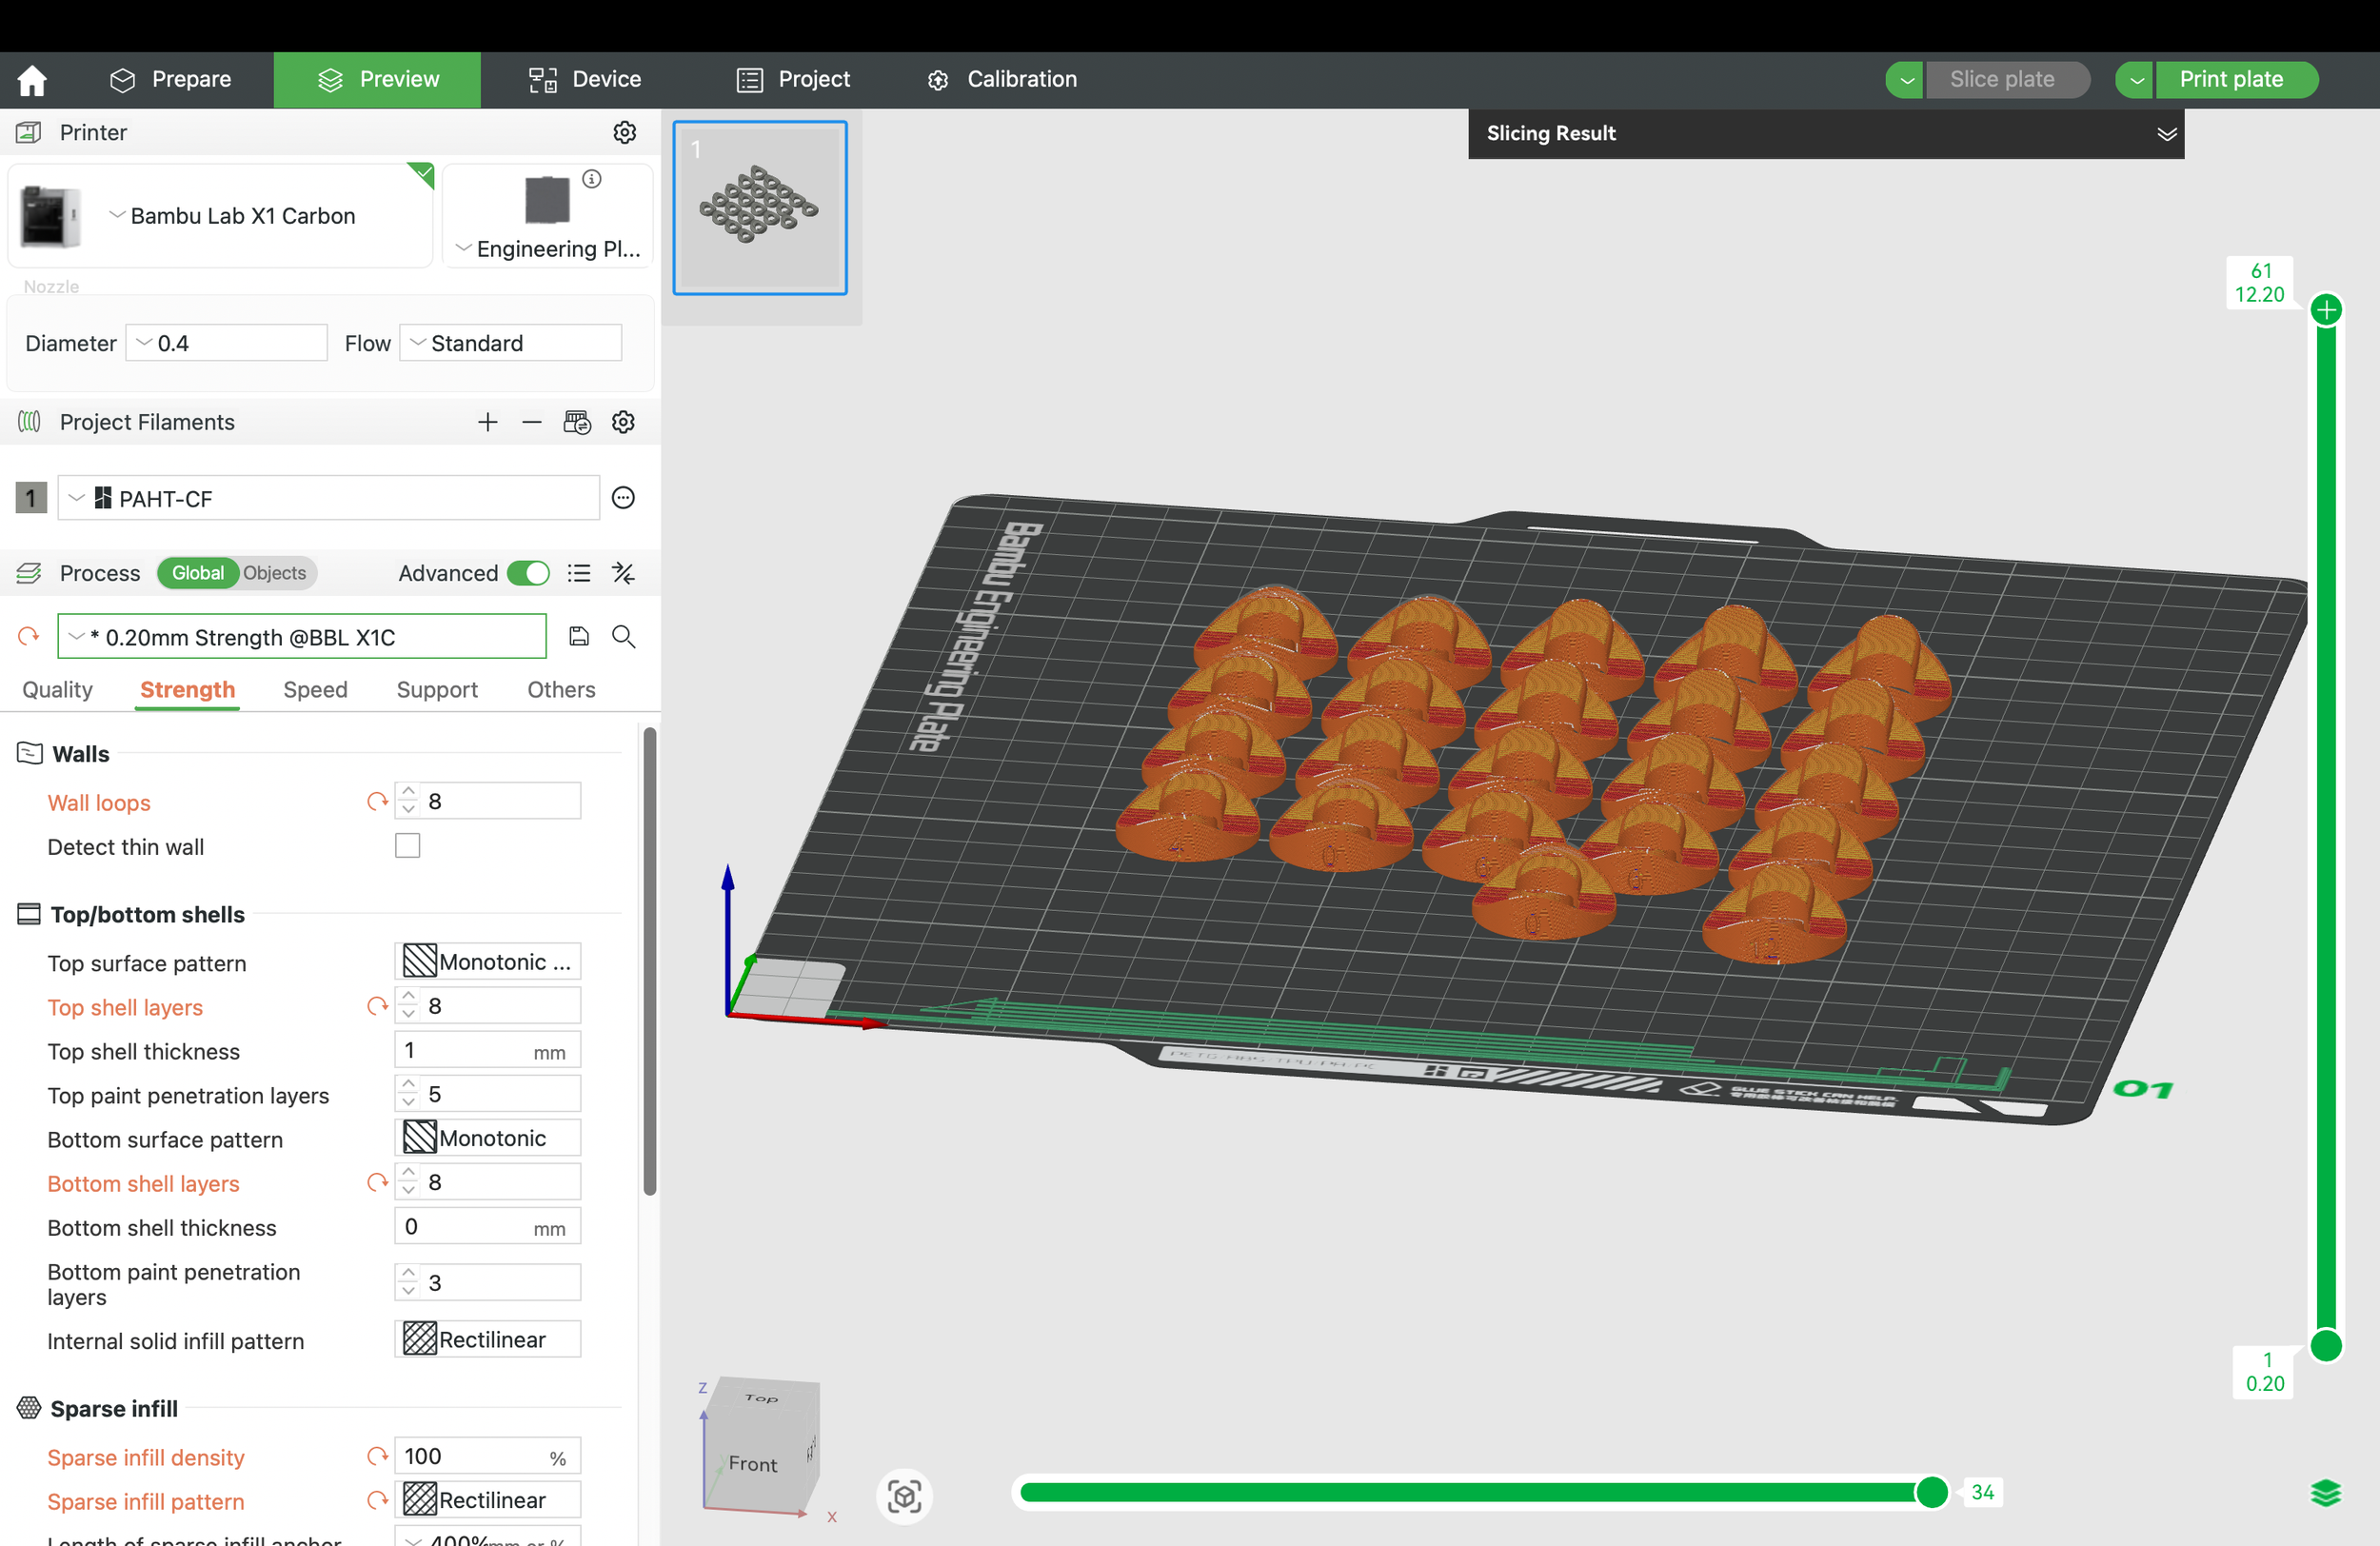
3D Print the Spacers
The CAD files and Bambu printer files can be found on MakerWorld at Caster Fork Spacers for NAW (Not Endorsed by NAW).
You can print all the spacers (0 deg through 20 deg) or you can print a smaller range of spacers.
I recommend printing the full range of spacers if you are printing these and sending them someone else.
If your caster fork is relatively centered in the slot, you can likely print a smaller range of spacers (0 deg through 6 deg).
If you have your own 3D printer and would like to save as much material as possible, you can also estimate the caster fork angle using the method described in “Method 2” below and print only one pair of spacers at the estimated angle. If they are slightly off, you can print another pair at a different angle. Alternatively, you could print a smaller range of spacers within +/- 2 deg or +/- 4 deg of the estimated range.
PAHT-CF
PAHT-CF is the material I used for the spacers on my chair and it seems to be robust. However, PAHT-CF is expensive and not compatible with all printers.
The following printer settings are recommended:
Placement: Place so that the flat surface of the spacers on the printer bed.
Layer height: 0.2 mm (Strength if available)
Support: None
Infill: 100%
Wall Loops: 6 to 8
Top Shell Layers: 5 to 8
Bottom Shell Layers: 5 to 8
PETG
PETG is a cheaper alternative that works on more printers should still be able to handle the outdoor exposure. However, I am still in the process of testing this and it is more likely to deform or break.
The following printer settings are recommended:
Placement: Place so that the flat surface of the spacers on the printer bed.
Layer height: 0.2 mm (Strength if available)
Support: None
Infill: 100%
Wall Loops: 6 to 8
Top Shell Layers: 5 to 8
Bottom Shell Layers: 5 to 8


Determining the Caster Fork Angle
Method 1
This method requires you have the new caster assembly (with the bolt in the hub of the caster assembly) and a wider range of spacers already printed.
Adjust the casters to the correct angle following How To Adjust Front Caster Angle On Your New Wheelchair.
Remove the caster fork using the 3/4 inch wrench. DO NOT LOOSEN THE BOLT IN THE CASTER HOUSING
Test fit the spacers and find the spacer that has the hole most centered over the hole that the caster fork screws into.
Assemble the caster fork onto the housing with the right spacer. If the fork will not screw in, you may need to choose a different spacer that aligns better OR loosen the bolt in the hub of the caster assembly to better align it with the spacer hole.
Method 2
This method works with both the new and old caster assemblies, but requires more measurements and more math.
Compared to Method 1, this is more work, but allows you to print fewer spacers.
Compared to Method 3 using this method, it is less likely that you will need to remove and reassemble the caster fork assembly multiple times to find the right spacer. Each time you remove and reassemble the caster fork, you risk damaging the assembly - particularly the threads of the screw and socket.
Adjust the casters to the correct angle following How To Adjust Front Caster Angle On Your New Wheelchair.
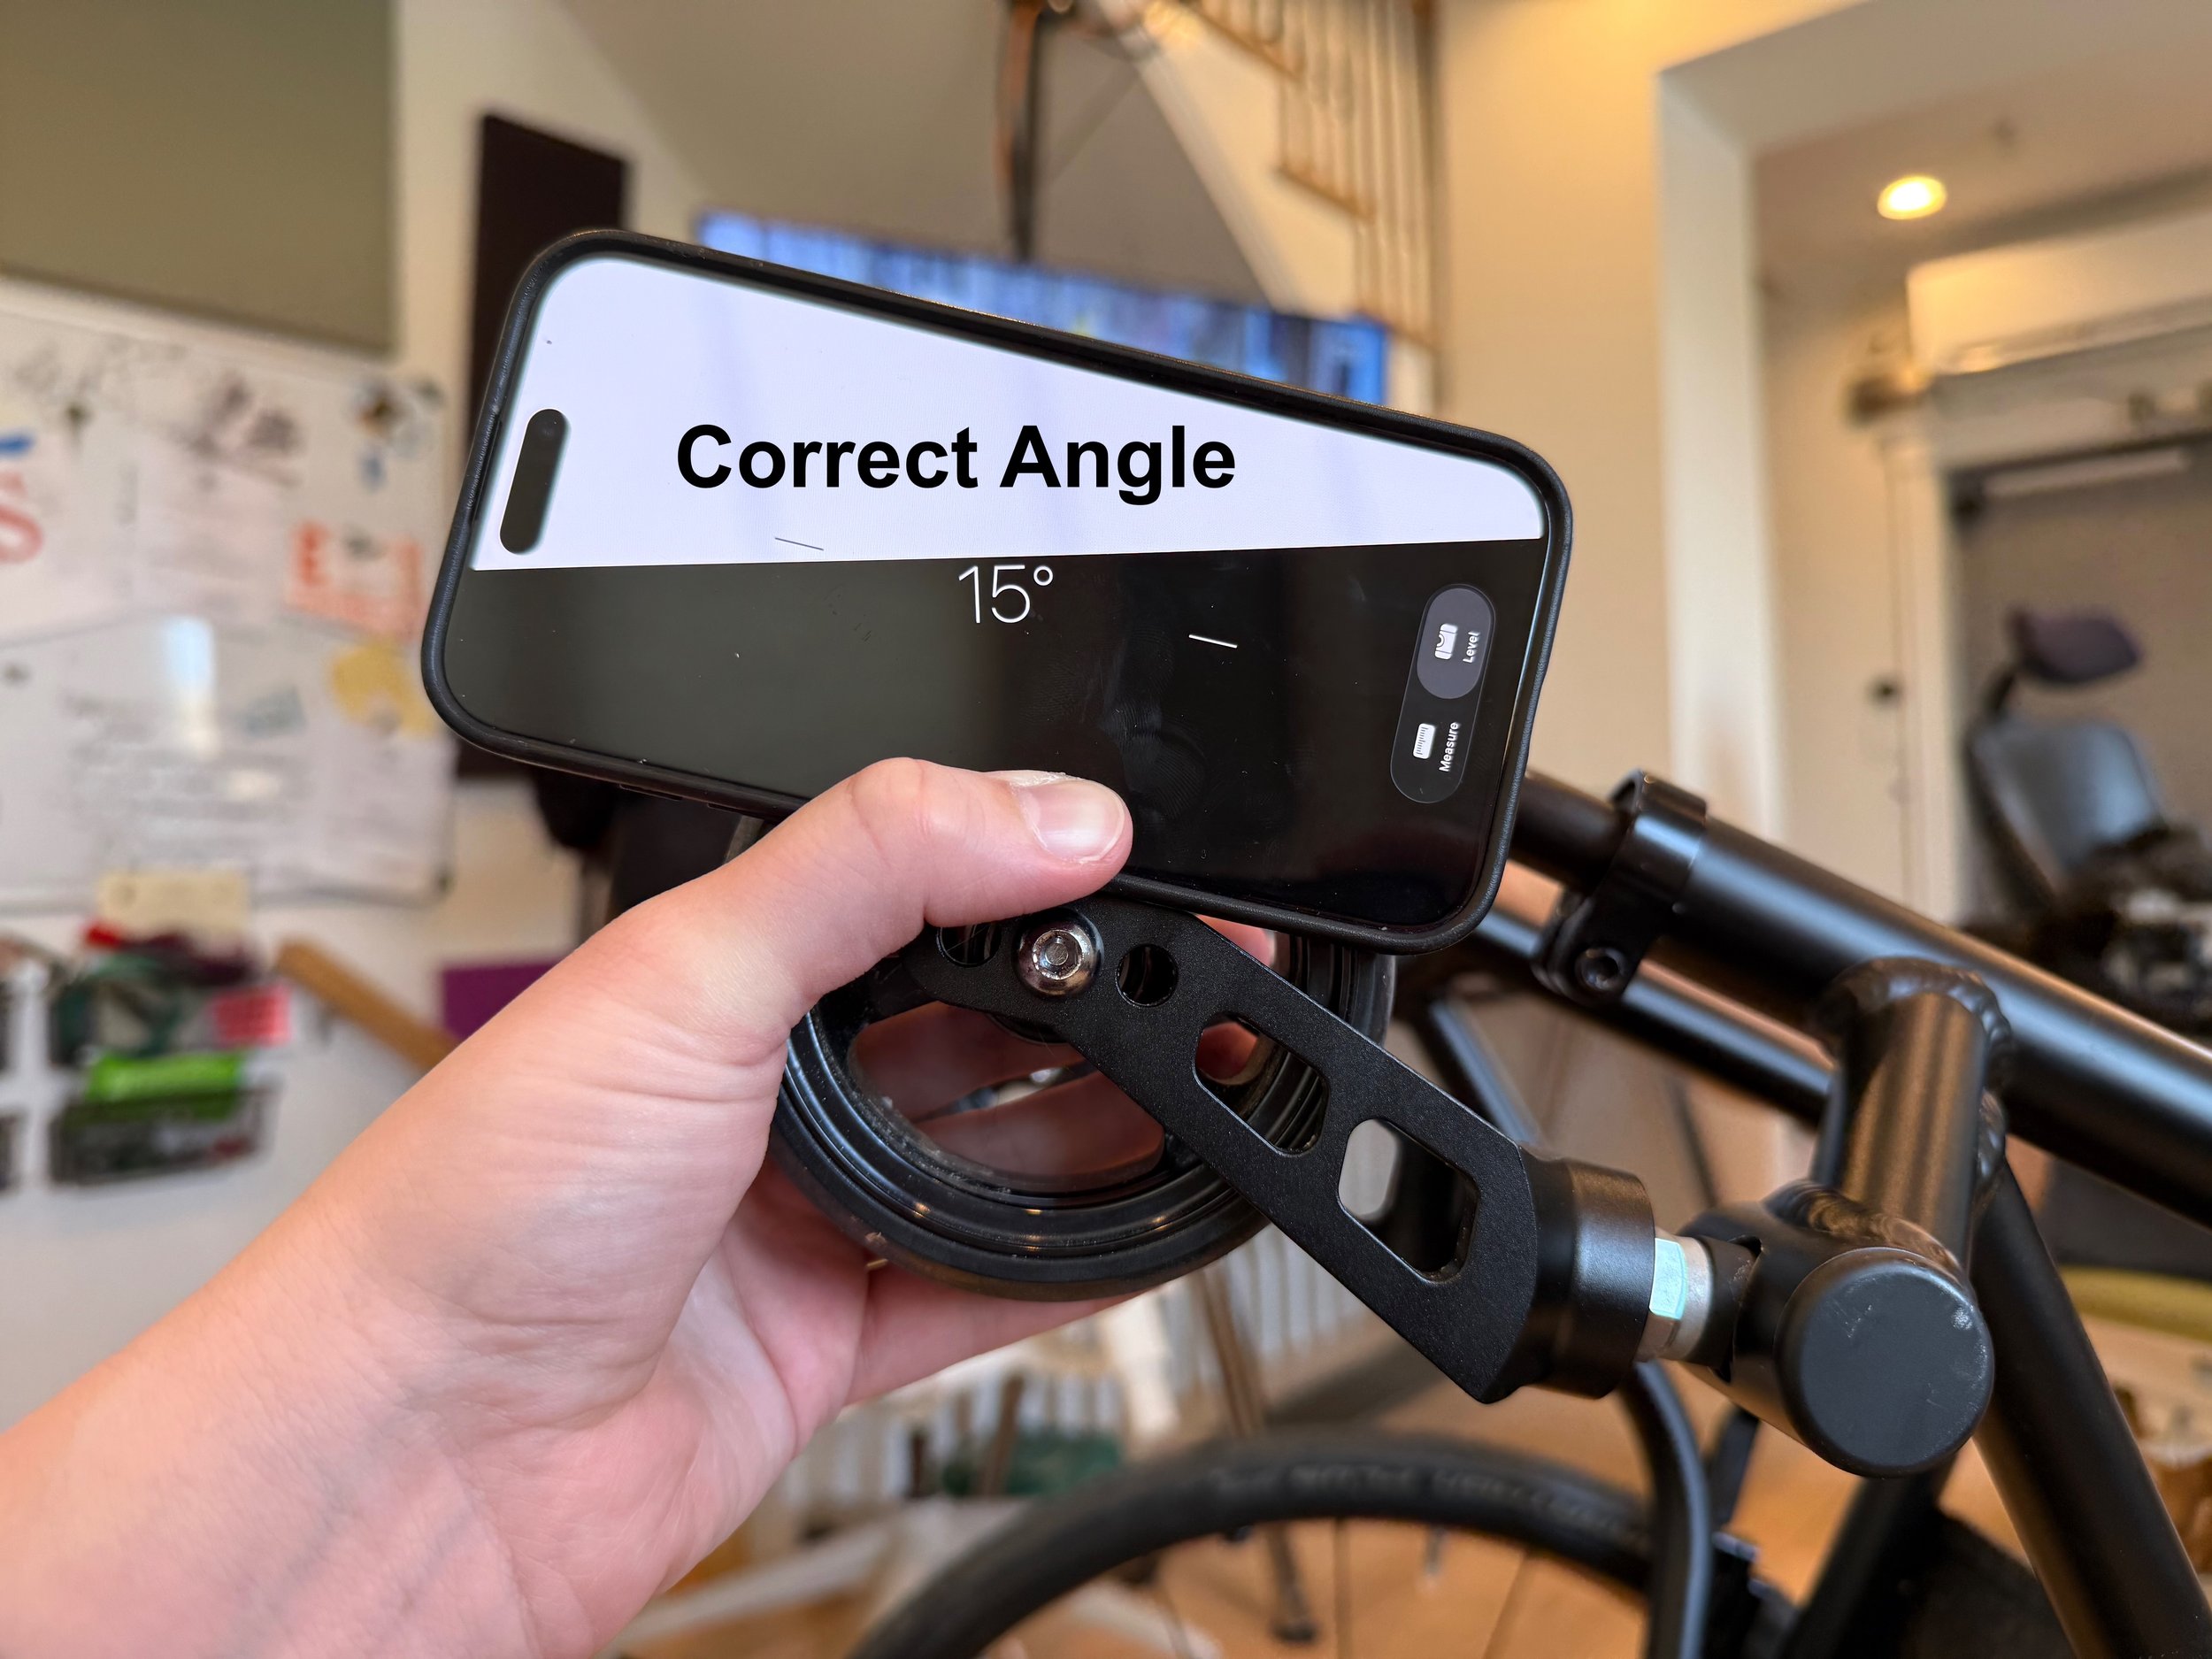
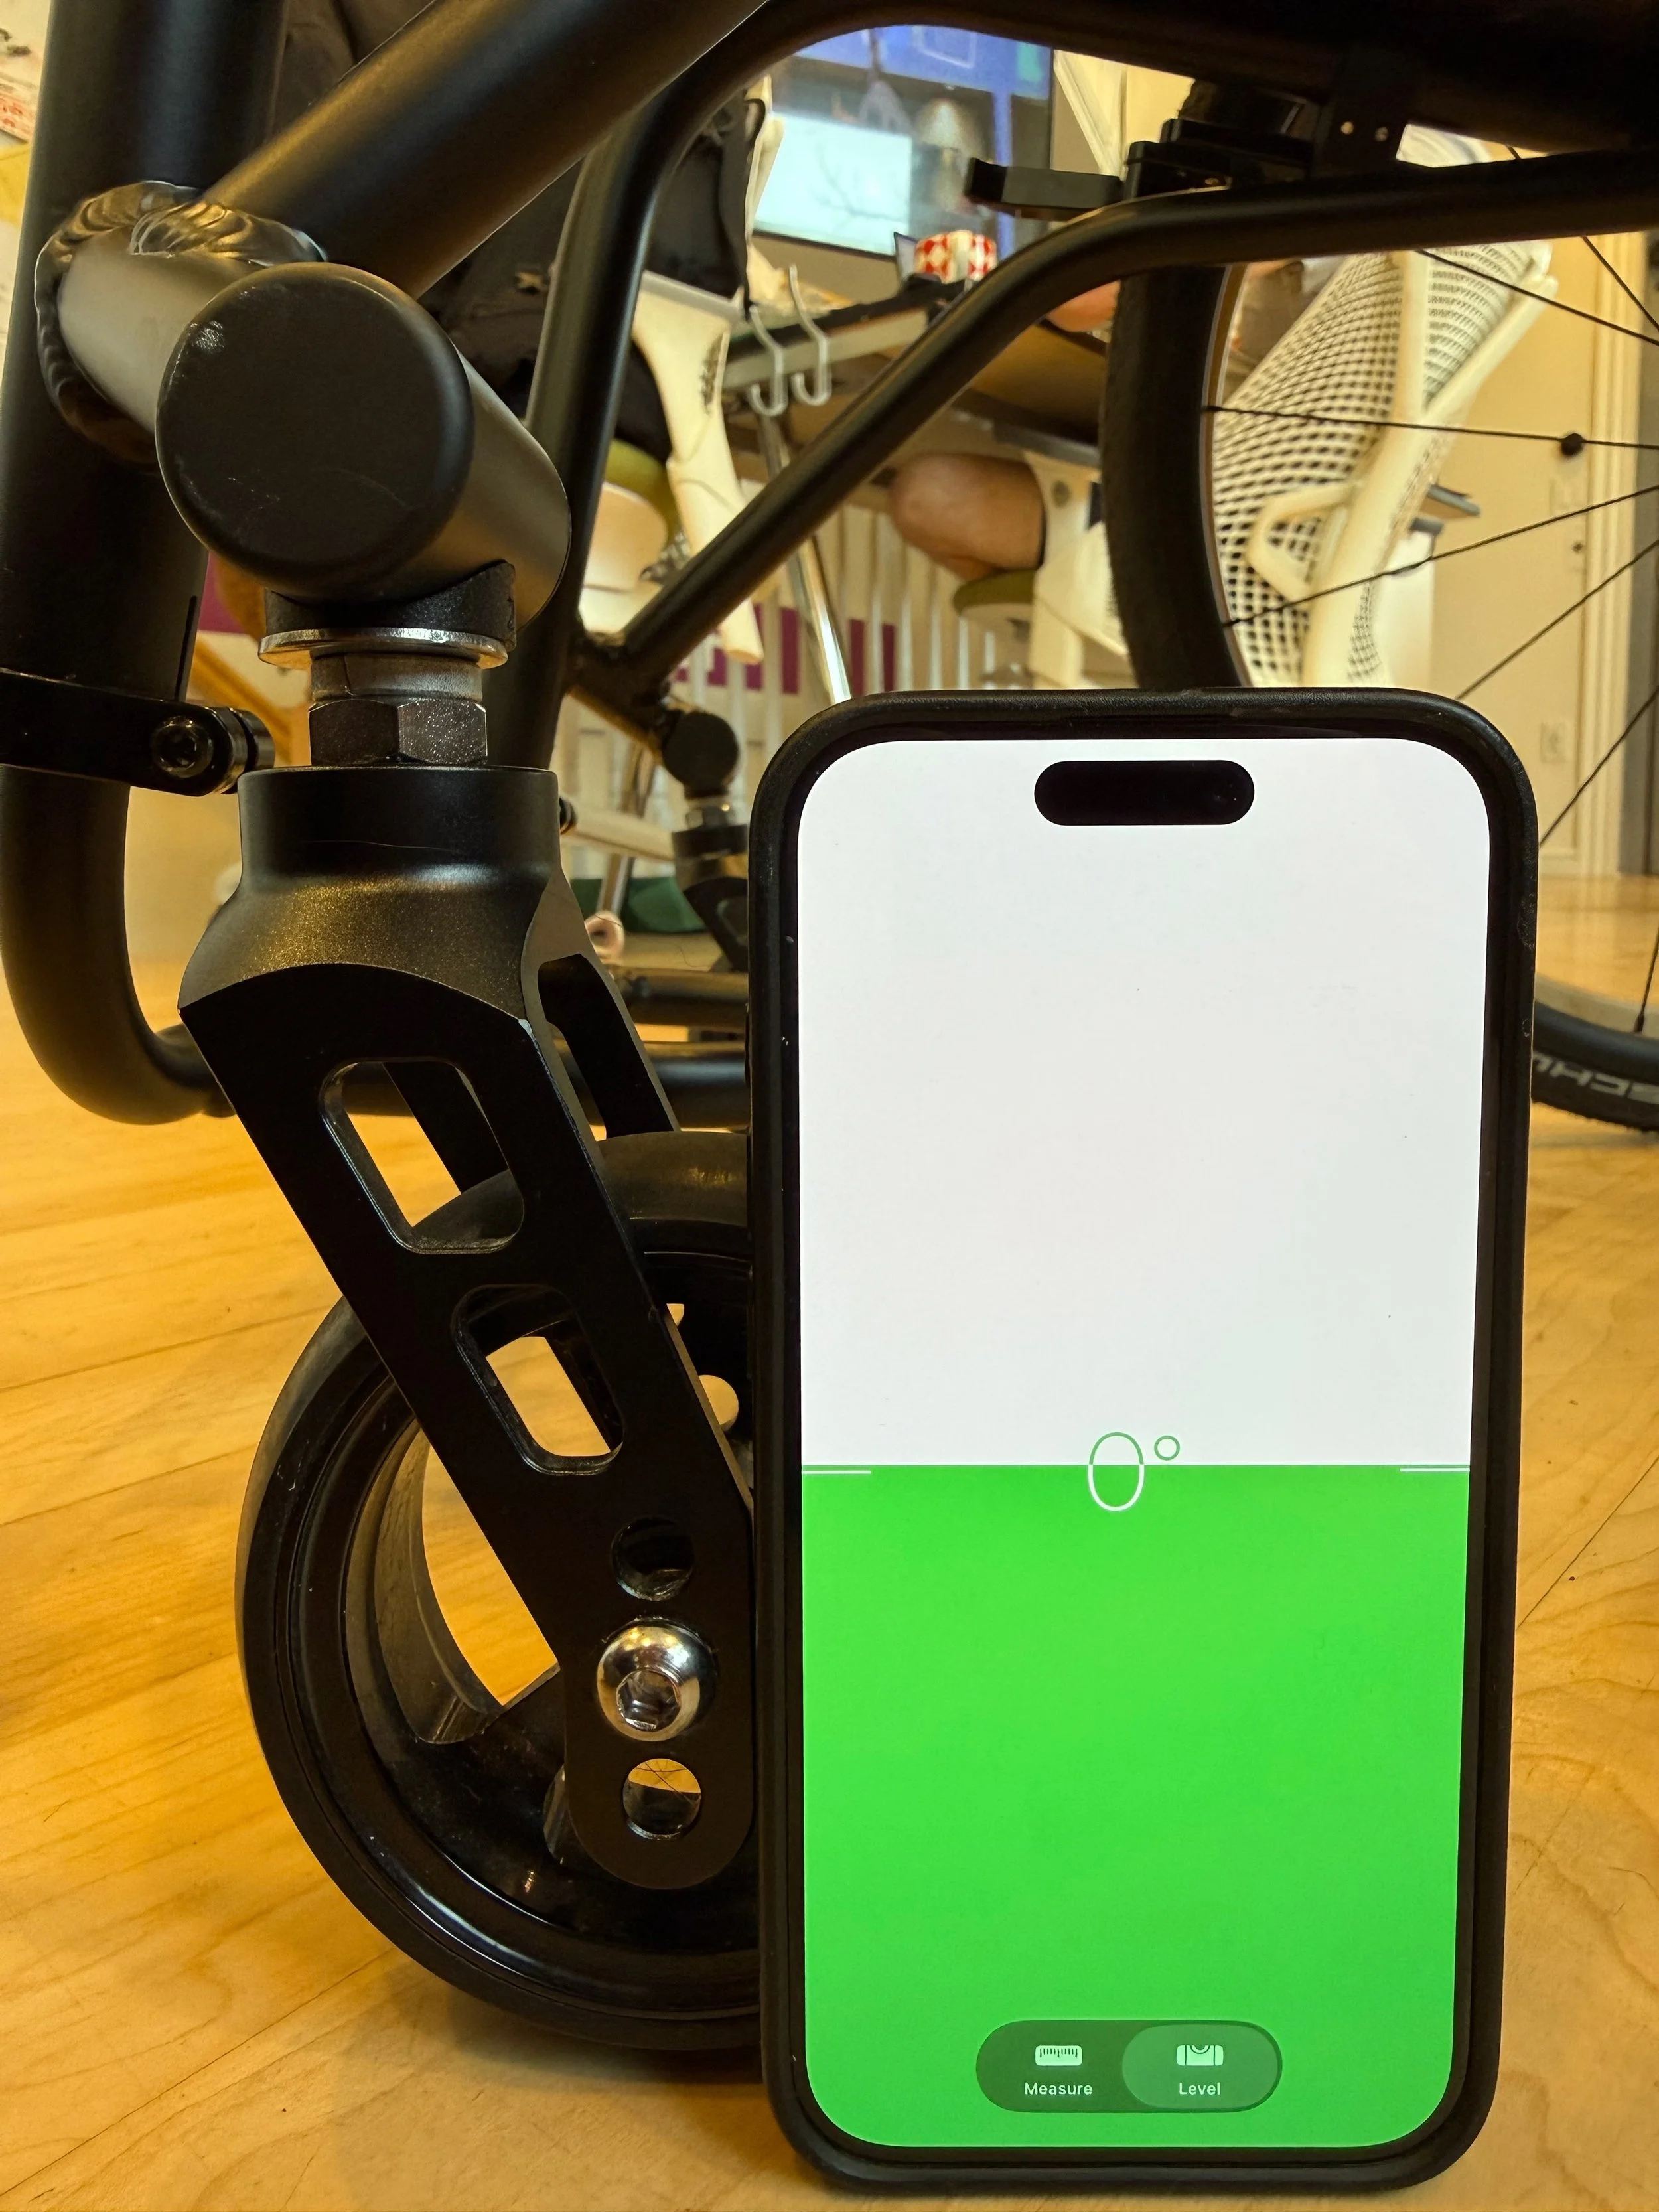
Flip the wheelchair back and use your phone to measure the angle of the caster fork in the correct position. [AngleCorrect]
Loosen the caster fork using a 3/4 inch wrench
If applicable, loosen the bolt in the caster housing with the 6 mm hex key.
Measure the angle of the of the caster fork when the fork is adjusted all the way forward. [ForwardAngle]
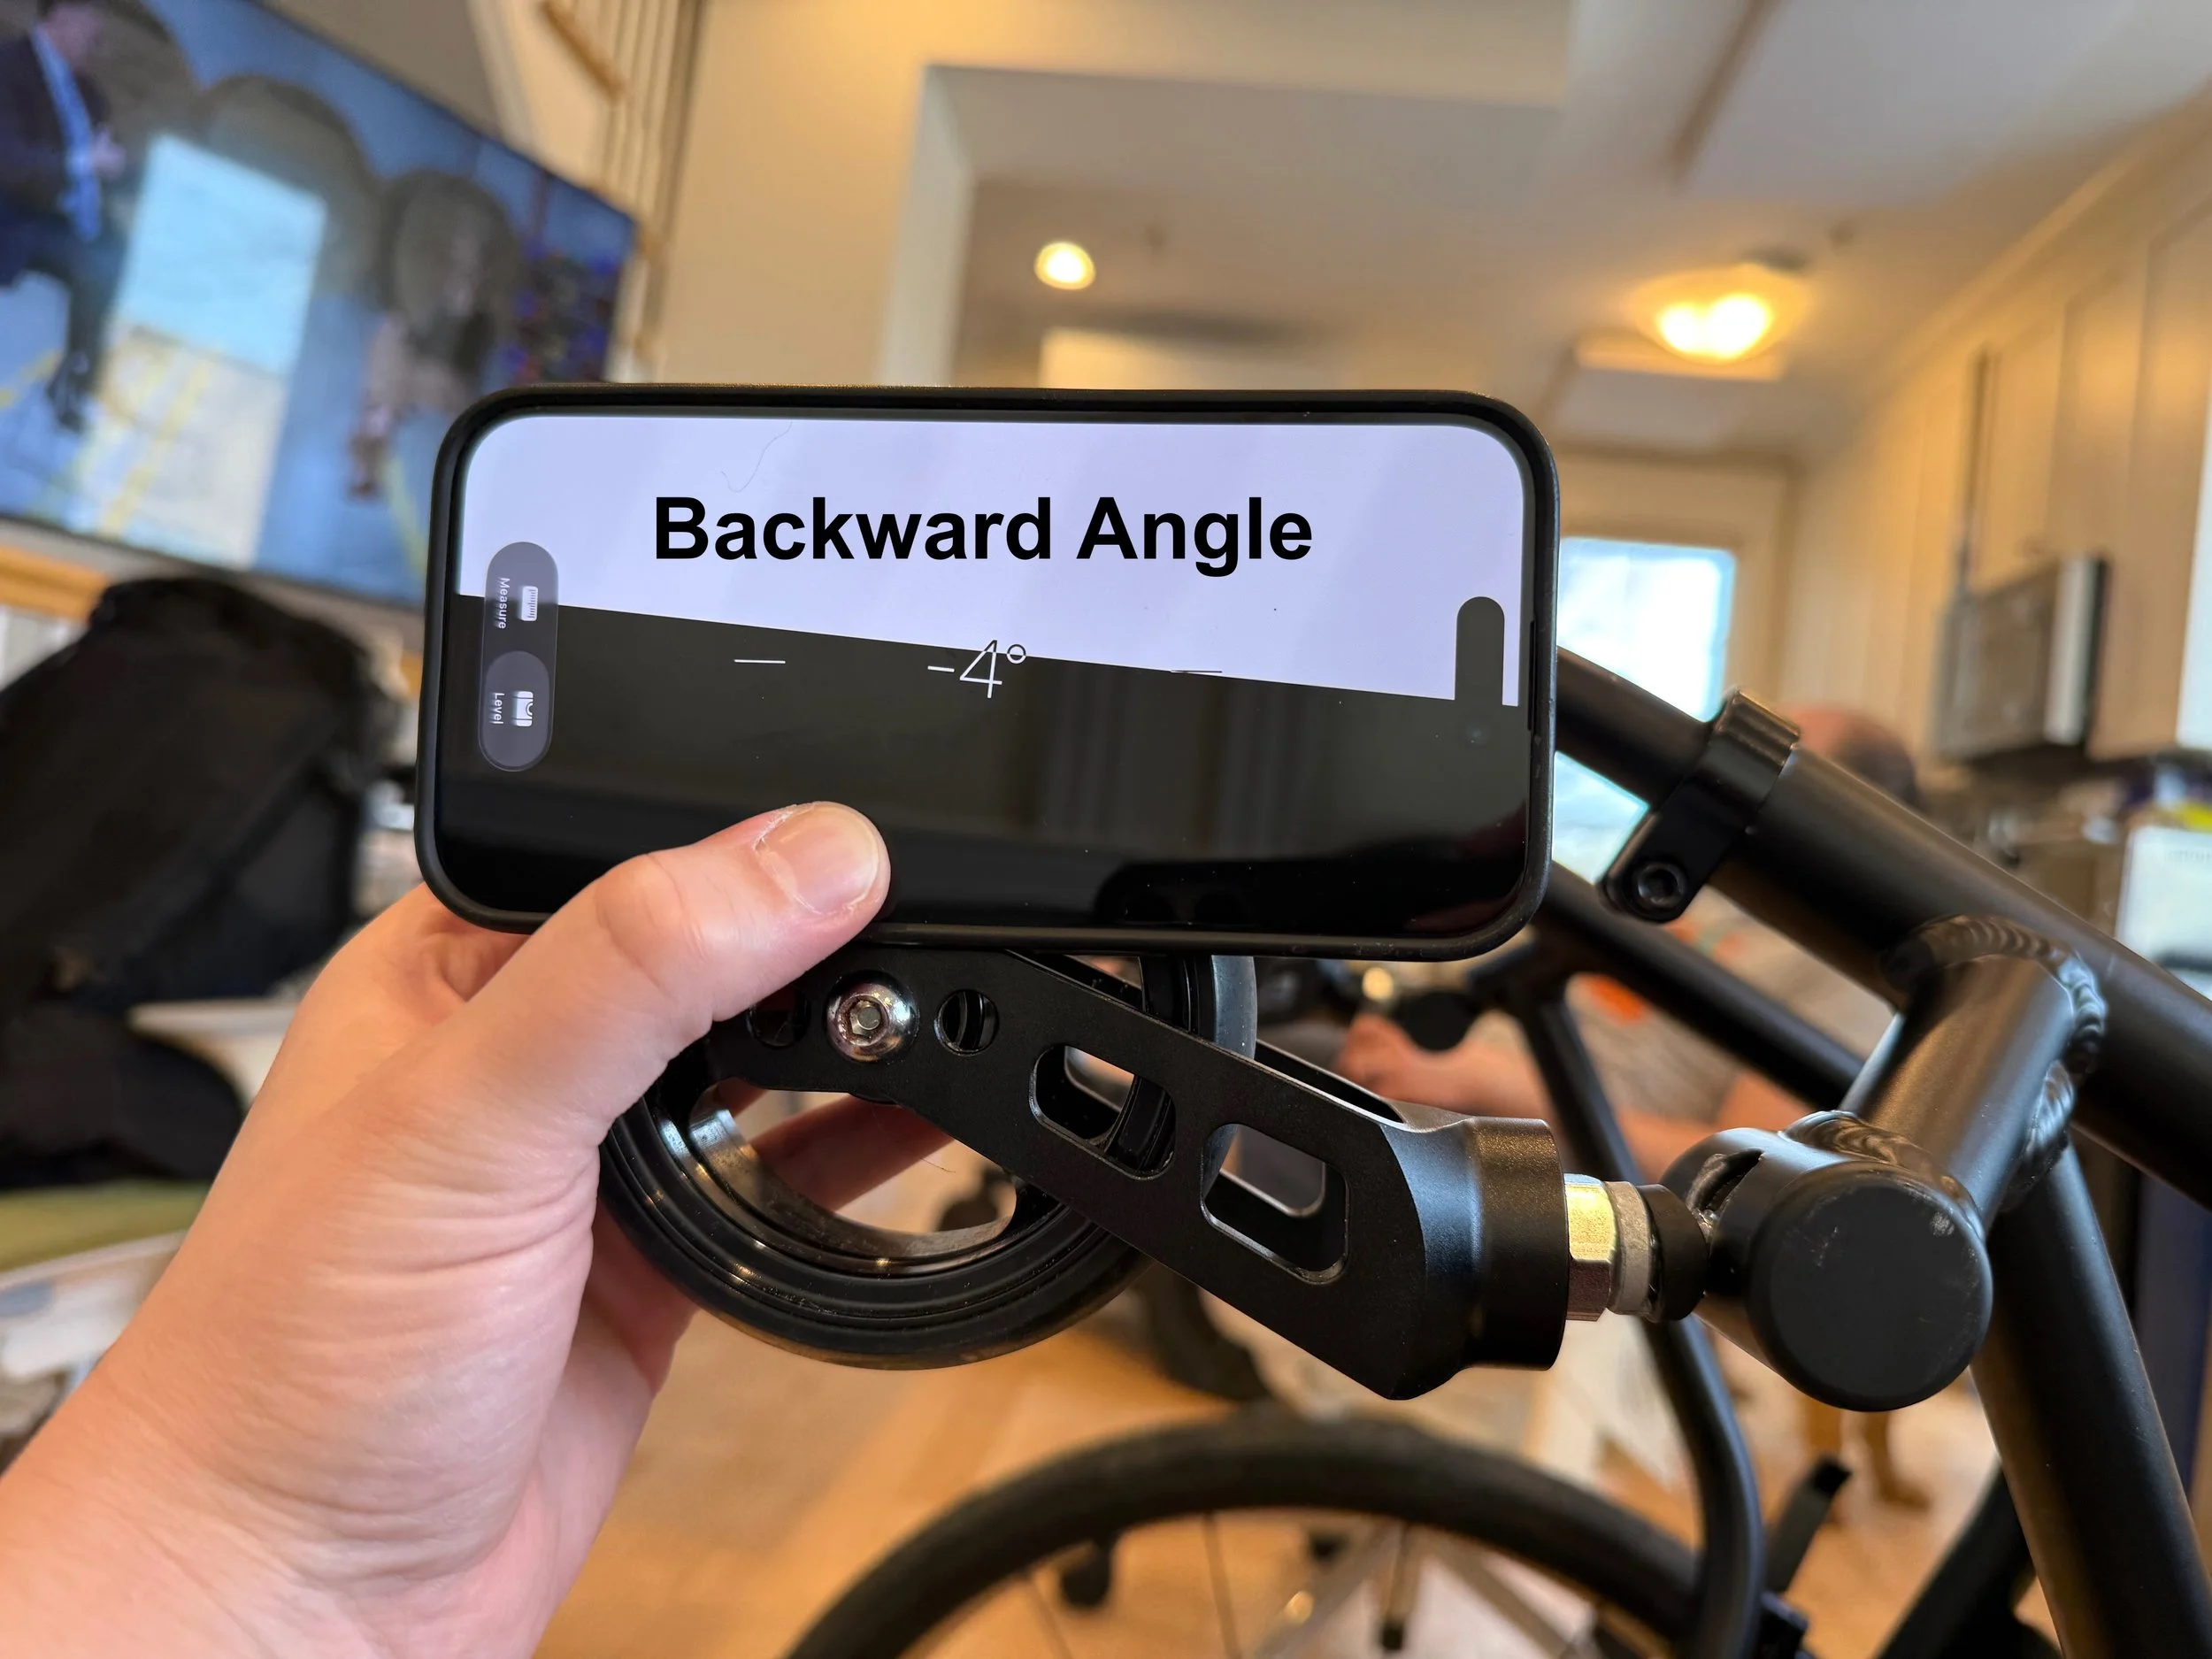
Measure the angle of the of the caster fork when the fork is adjusted all the way backward. [BackwardAngle]
Calculate the approximate caster fork angle from the center of the slot.
Angle = [(AngleForward - AngleBackward) / 2] - AngleForward + AngleCorrect
Example using photos below:
Angle = (37 deg - (-4 deg)) / 2 - 37 deg + 15 deg = -1.5 deg
Use +/-2 deg spacer with -2 facing forward.

Method 3
While this method is compatible with both the new and old caster housings, it is only recommended if you have the old caster housings and do not want to do the math and measurements in Method 2.
This method is more likely to require you to remove and reassemble the caster fork assembly multiple times to find the right spacer compared to Method 2, and thus increases the risk of damaging the assembly.
Adjust the casters to the correct angle following How To Adjust Front Caster Angle On Your New Wheelchair.
Flip the wheelchair back and use your phone to measure the angle of the caster fork in the correct position. [AngleCorrect]
Remove the caster fork using the 3/4 inch wrench.
Take a guess at the spacer you think is the correct angle and assemble the caster fork (as described below).
Measure the caster fork to see if it is at the right angle. If it is not, repeat steps 3 & 4 until the correct spacer is found.
Assembling the Spacers on the Caster Fork
Use the 3/4 inch wrench to fully remove the caster fork from the chair.
Remove the existing metal spacer from the screw and leave the lock washer in place.
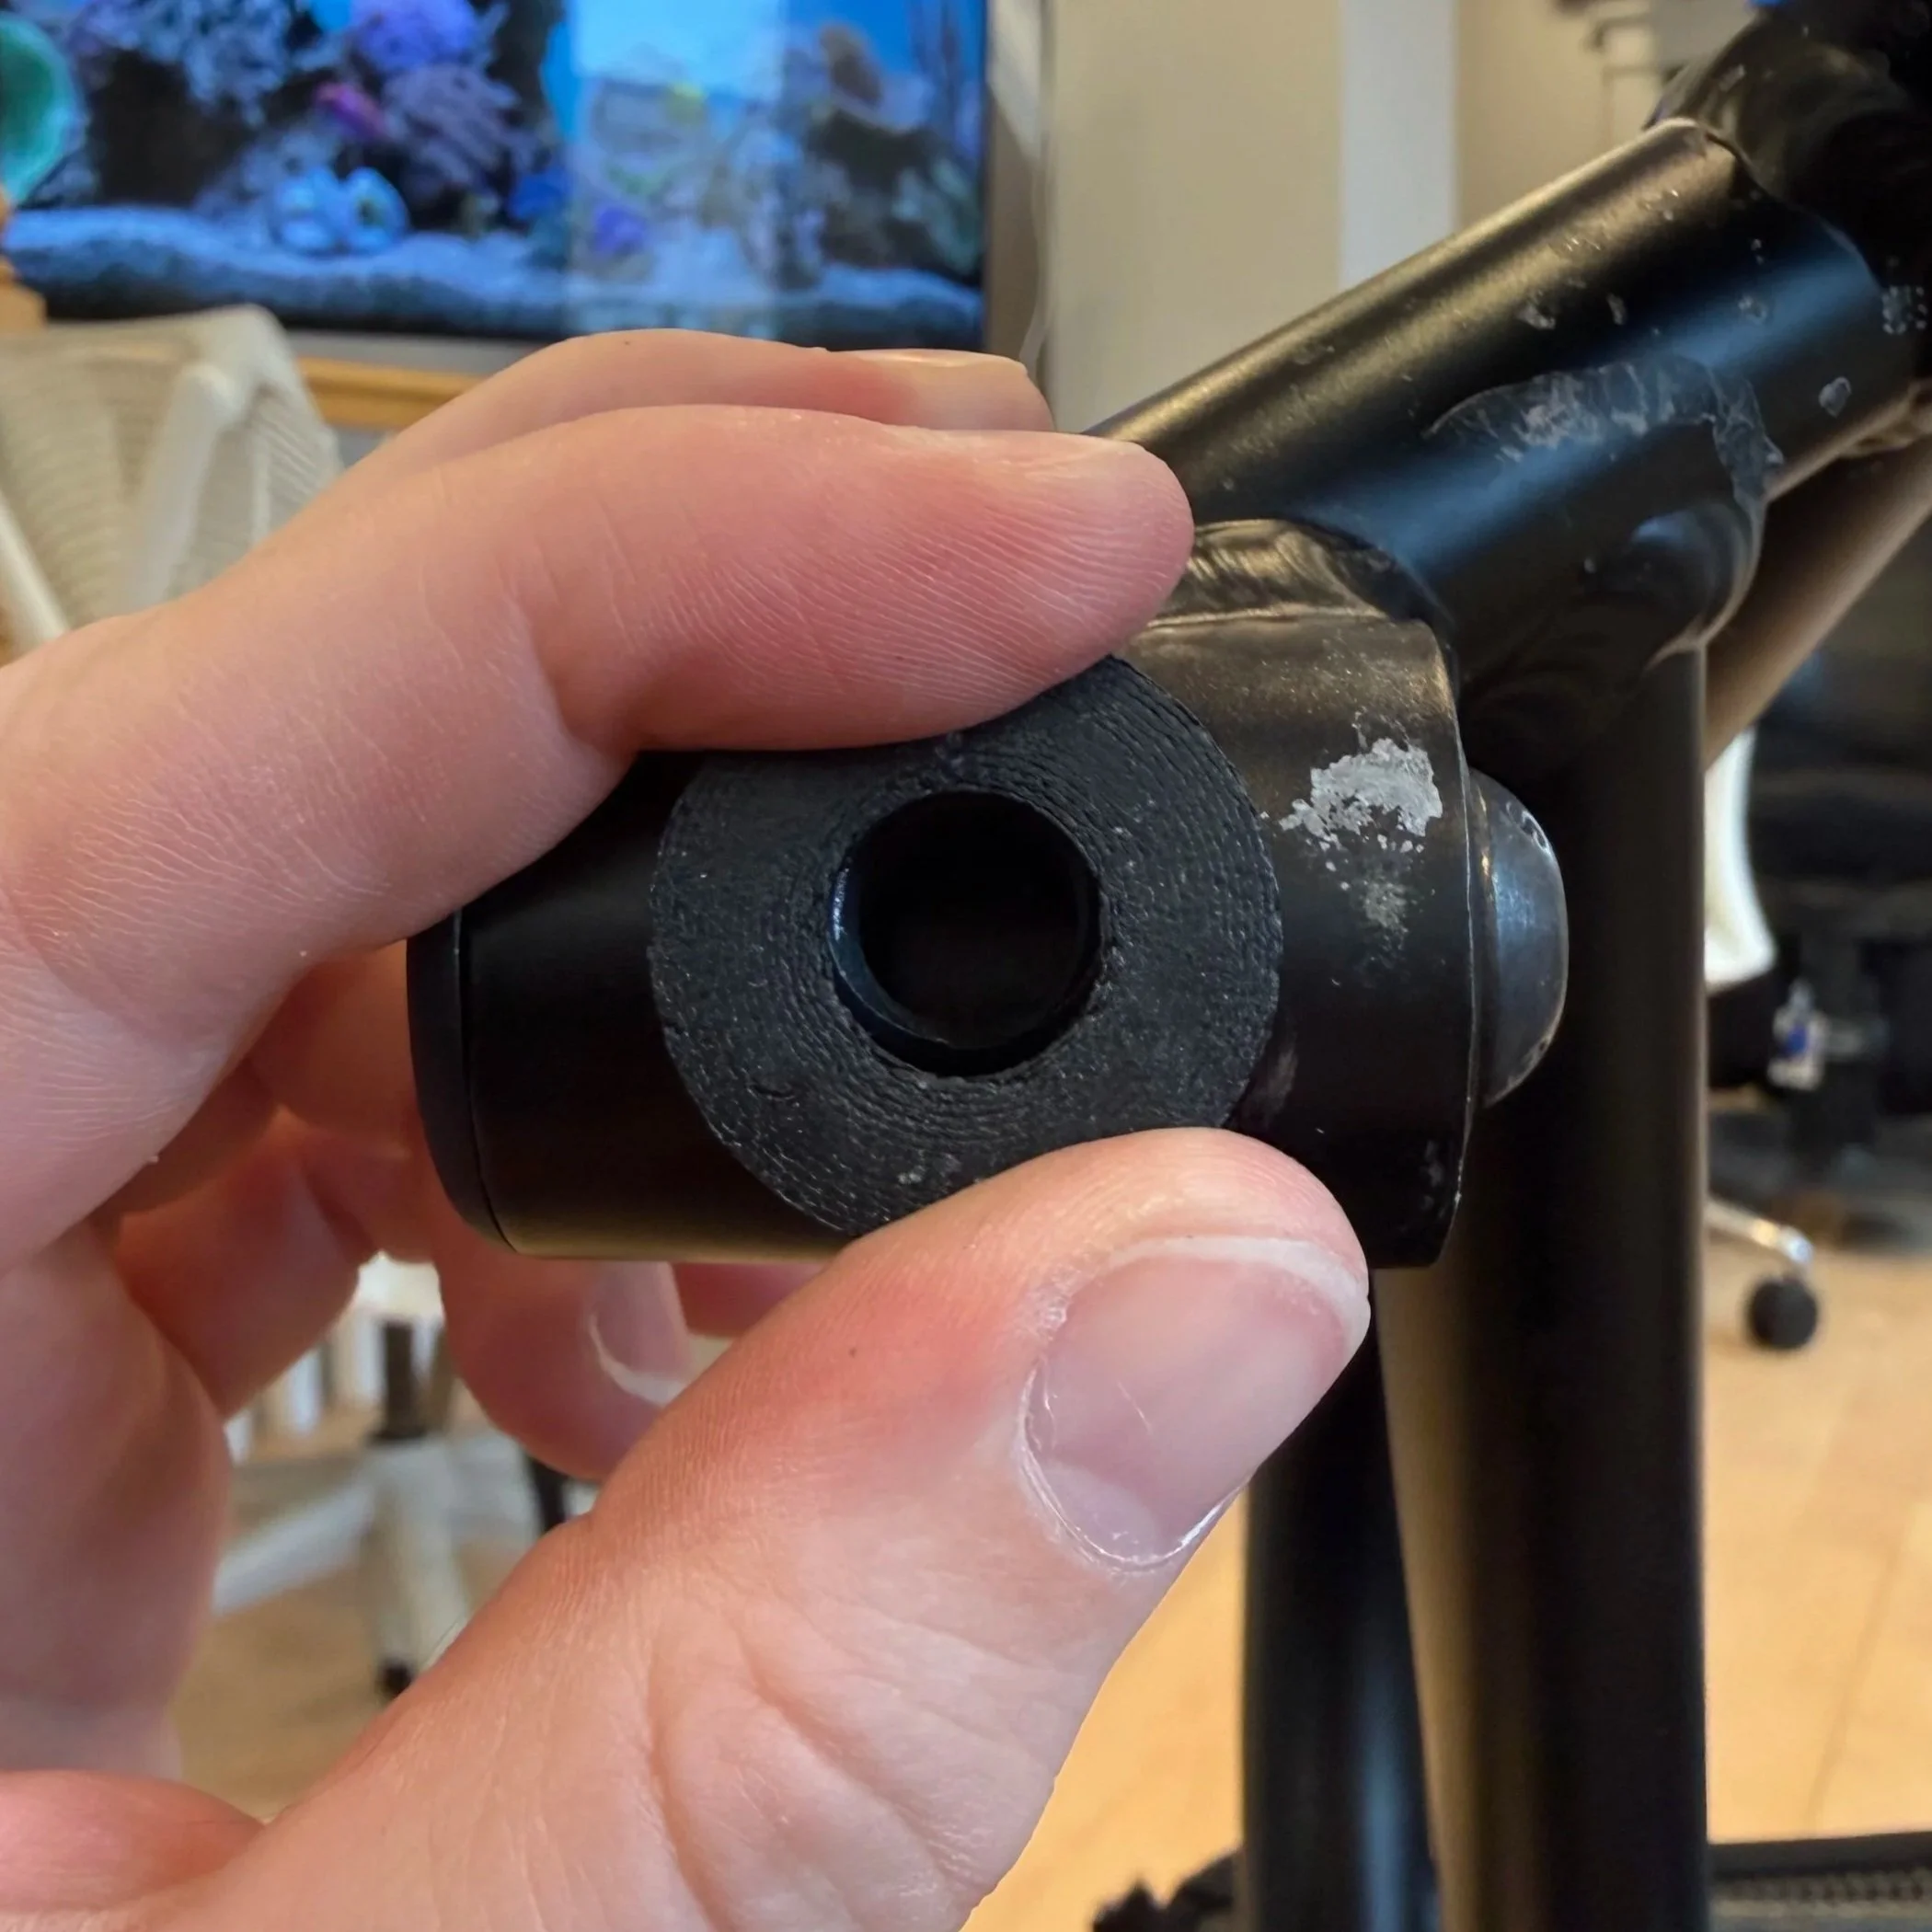
Place the flat washer and 3D printed spacer with the estimated angle on the screw.
Thread the screw back into the assembly, making sure the spacer is seated in the proper direction. For example, if the estimated angle is -2 deg, make sure the -2 on the spacer faces forward and the 2 faces backwards.
Caster fork assembly order. The lock washer should be closest to the nut, followed by the flat washer and the 3D printed spacer.
Check the Angle
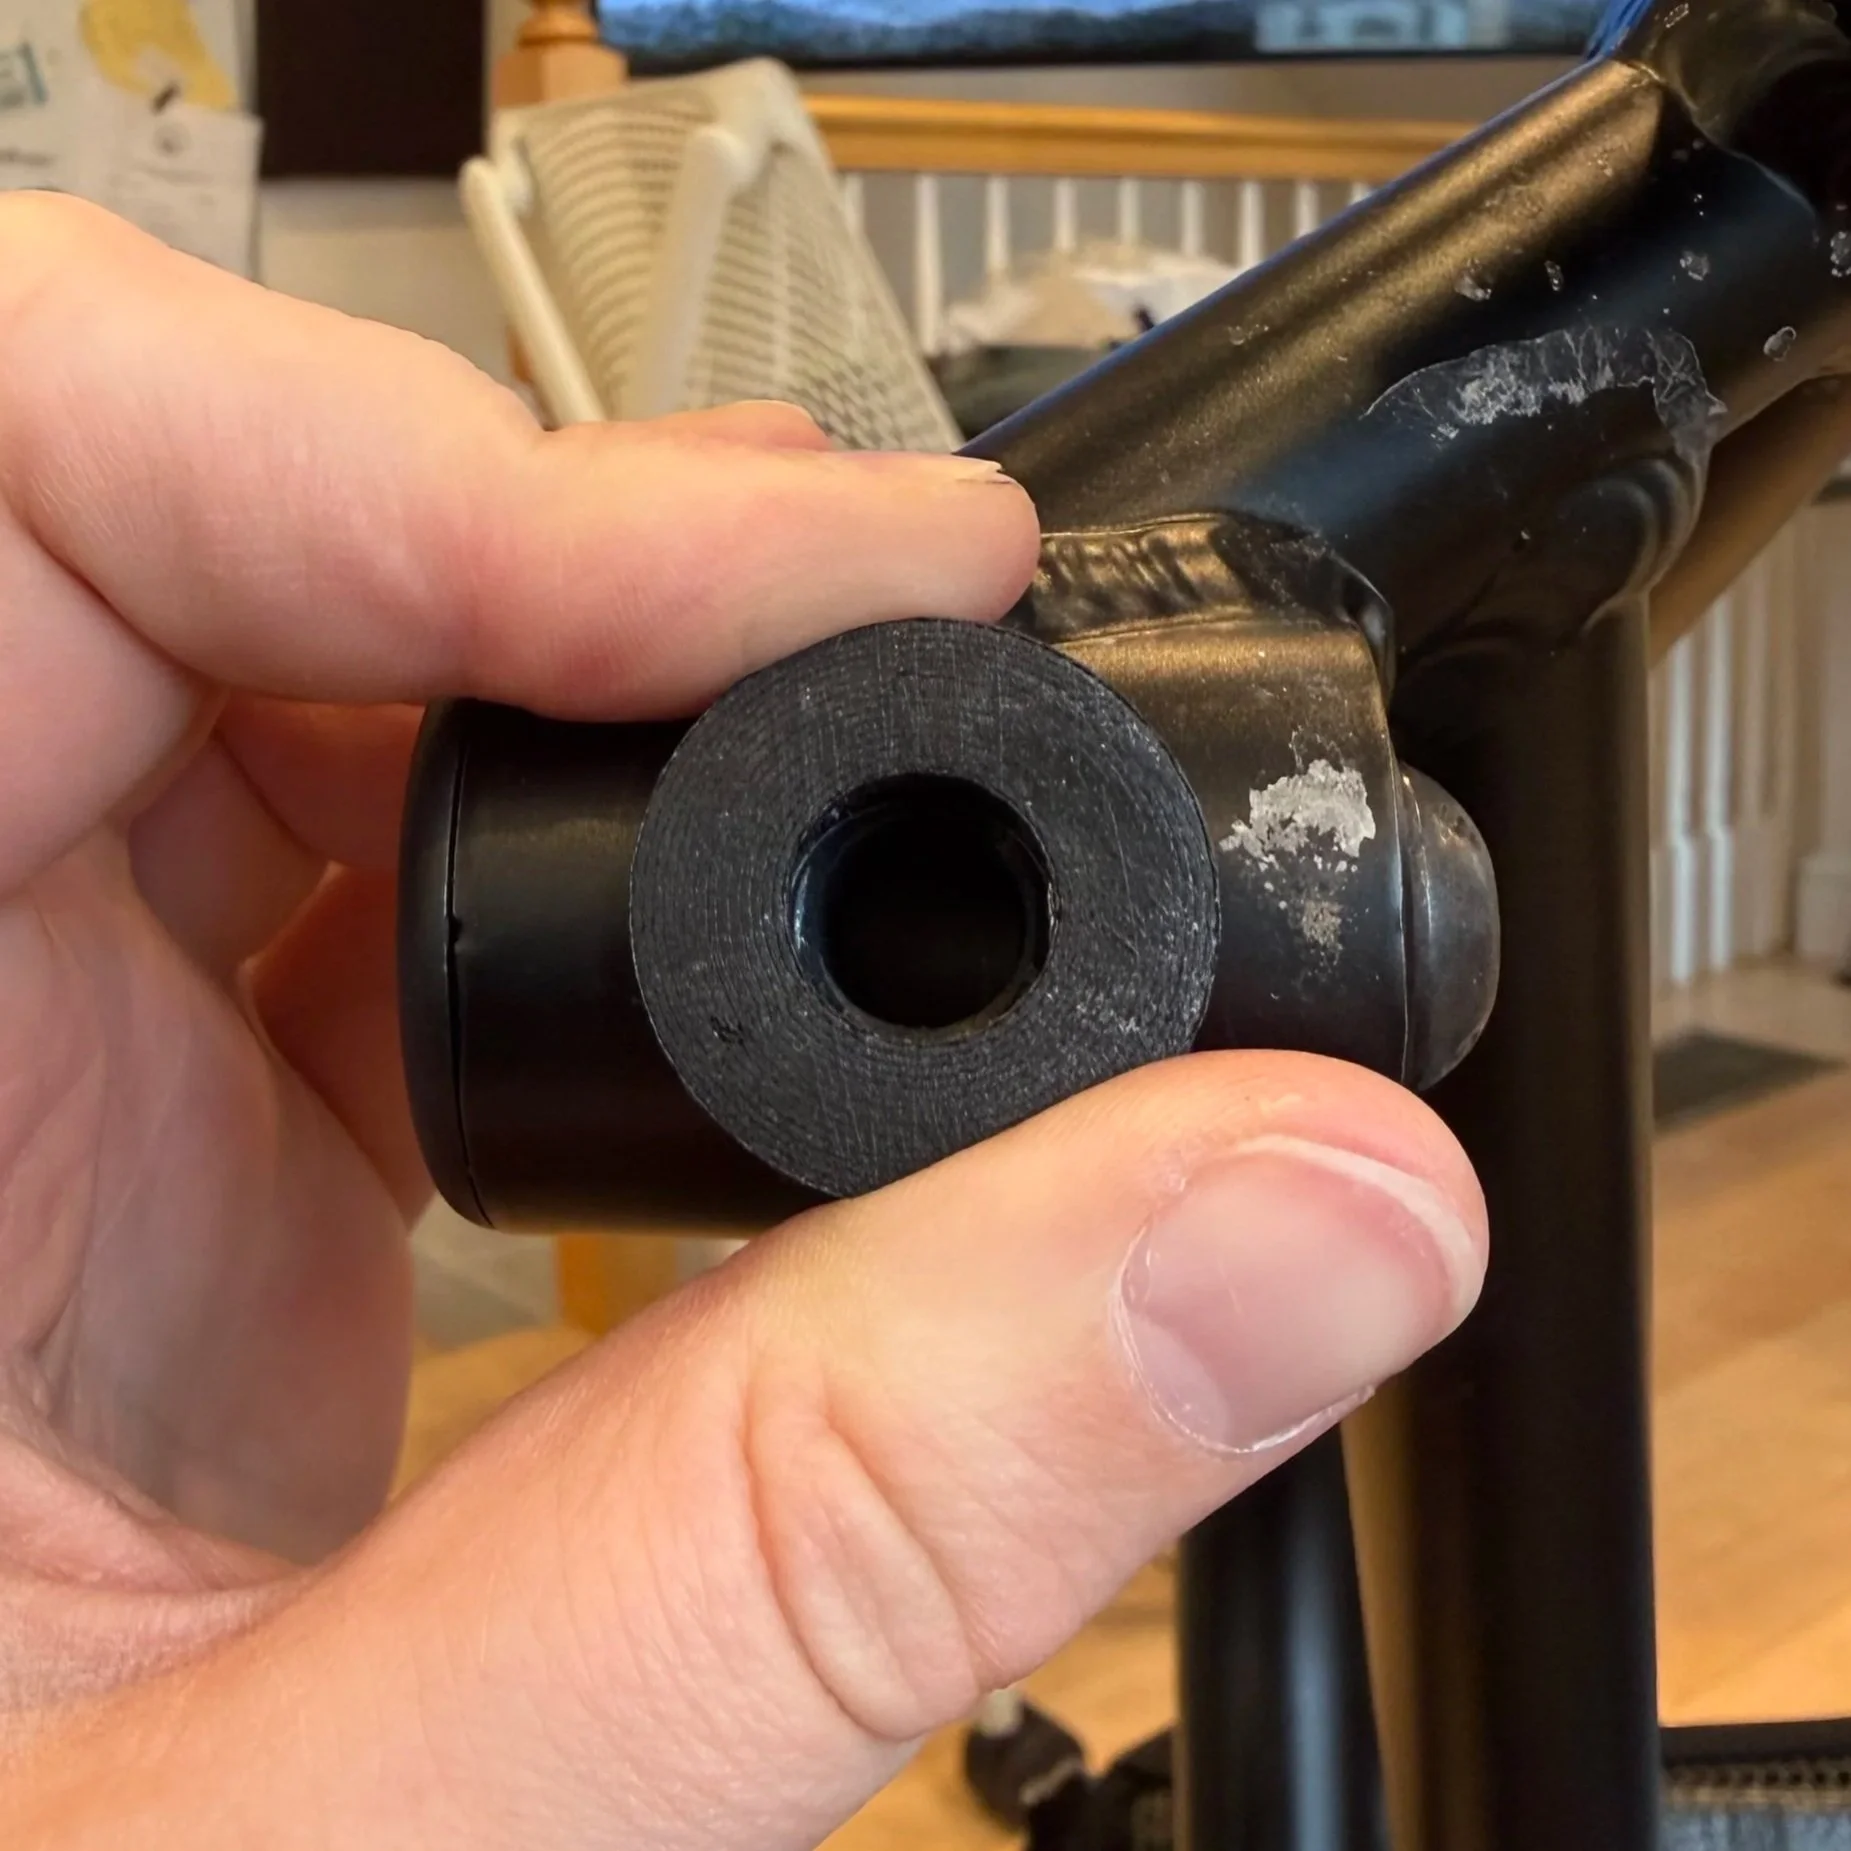
After assembling the caster forks back on to the chair, ensure that the back edge of the caster fork is at a 90 degree angle from the ground.
Checking the caster angle. Once the spacer is fully installed and the assembly is tightened, ensure that the back edge of the caster fork is perpendicular to the floor.